
Can it be? Is my Radiant Orchid quilt finally done?????


This has been quite a labor of love. And hate. And frustration. And a fair share of cursing. And, well you get it…
 When I decided to enter something into the Pantone Quilt Challenge, it was less about winning and more about trying something new. And boy did I!
This was a fairly big step out of my usual color palette, and I have to say it was a fun little trip! I originally thought I would use all solids, but as I started planning my quilt, my little stack of Moxie by Erin McMorris peeked out of my stash and said “hey Amanda, can we come out and play?” I just love the colors and playful prints (you might recognize a few from my bubble pocket skirt). It’s hard not to smile when you look at them. Which is a good thing, because we were about to spend A LOT of time together! I added a few more colors to compliment the prints and radiant orchid hues I had already picked. I also found some beautiful variegated thread to use for the quilting and binding.  When it came to deciding on a pattern, my only requirement was that I had to try something new. I finally narrowed it down to two options– a triangle quilt, or something more simple and modern. I went back and forth on this and finally decided, why not do both!
  I’ve never made a triangle quilt and I was looking forward to giving it a shot. I used a dear jane template to cut the 231 triangles, and it actually went surprisingly fast. Assembling the triangles was a different story. It was definitely a struggle in the beginning… Why won’t my pieces work? What am I doing wrong? Why can’t I figure this out? Maybe I should just give up!… Yep, it was a bit of a roller coaster for a while. If you’ve made one, you probably know what I’m talking about. I learned a few things along the way, but that’s a post for another time.

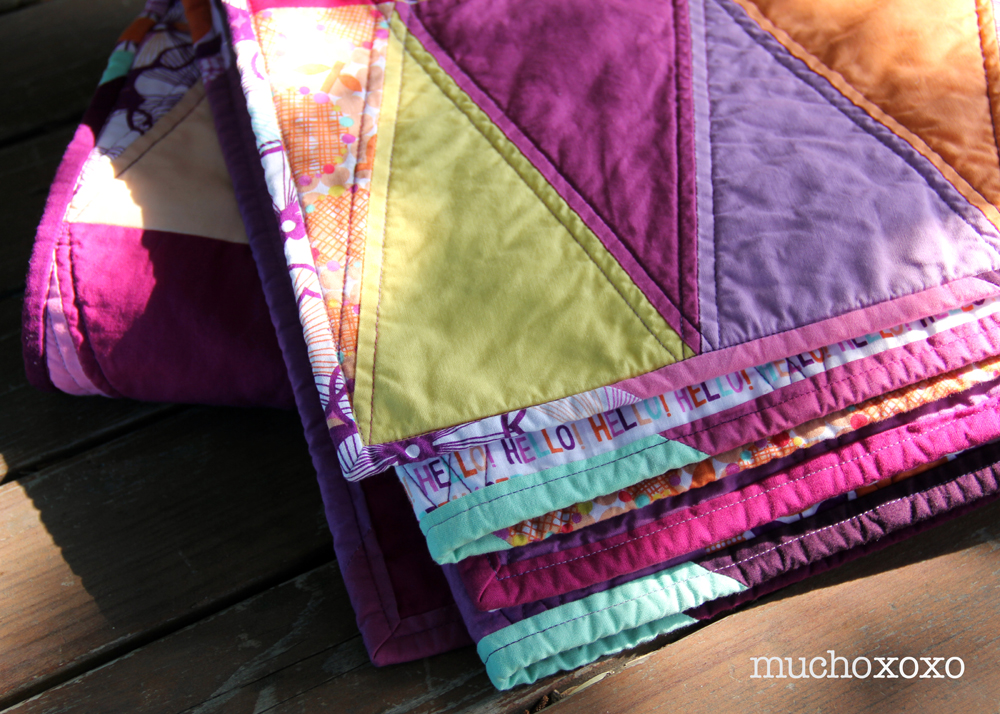
It took a while, but once I got the hang of it, things went smoothly. And with every successful intersection, I celebrated a small victory!  By comparison, the back came together pretty quickly. I love the contrast between the more traditional front and the modern asymmetrical back. I chose to quilt only the diagonals, and I love how the diamond pattern looks on the back. And the variegated thread is beautiful!
 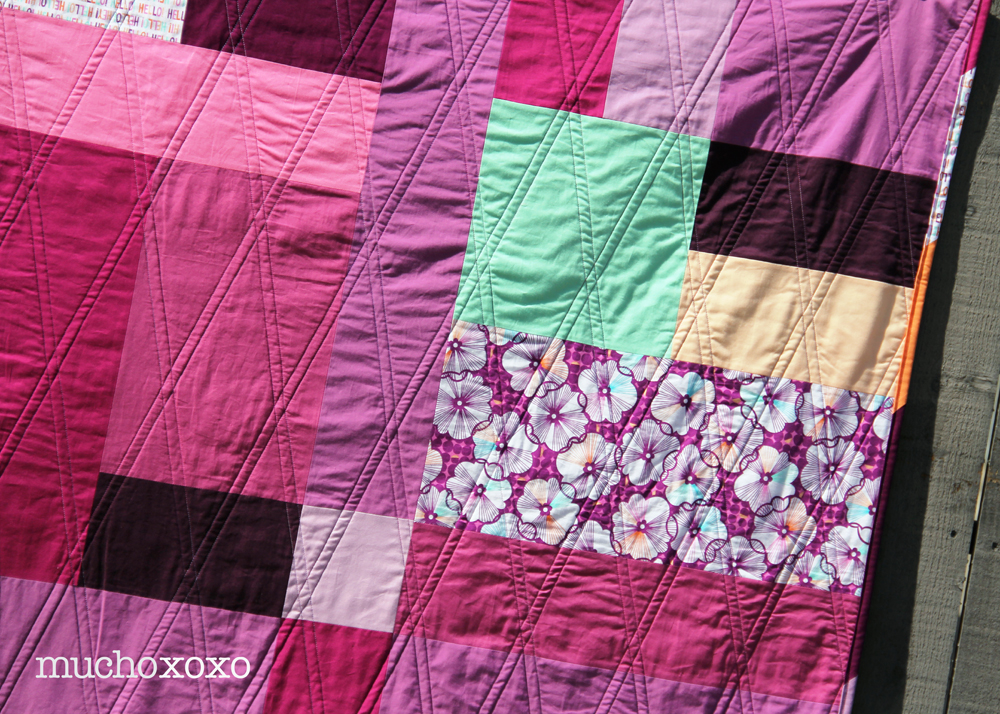 I also decided to try scrappy binding for the first time. Originally I was going to piece the strips randomly but I decided I wanted to be a little more deliberate with the placement (OCD much?). I really didn’t make things easy on myself. I absolutely spent too much time on this. I love how it looks but next time I think I’ll go for random.
  Looks good enough to eat, doesn’t it? And I even had a label that matched the Radiant Orchid perfectly!
 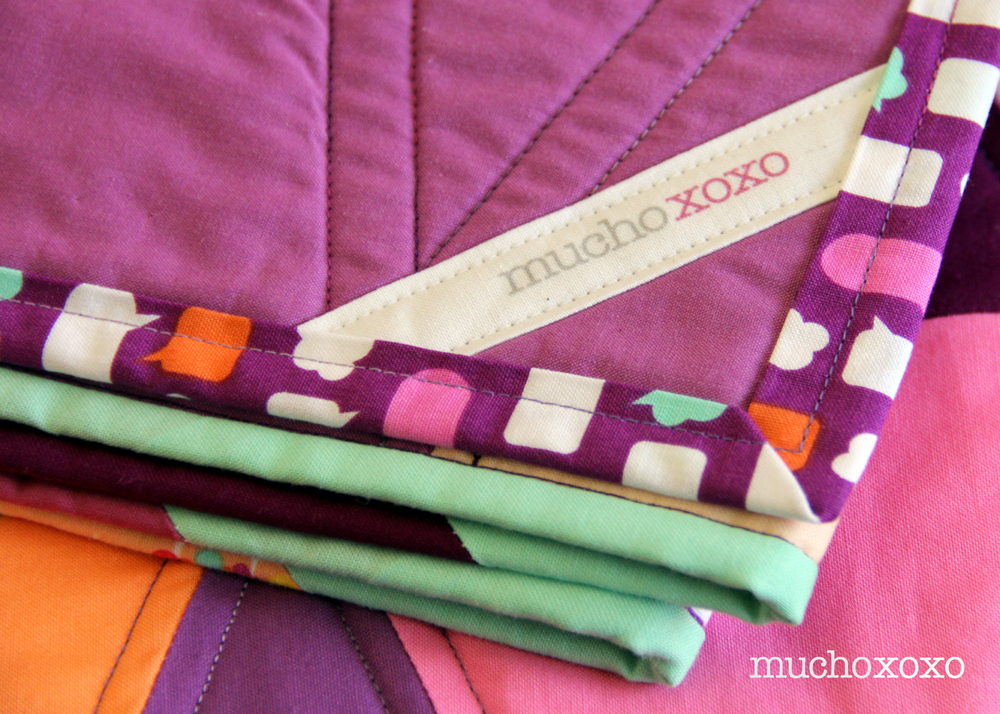 Binding the quilt used to be my least favorite part, but with every quilt I gain a little more confidence. If you’re still struggling with your binding technique, here’s a quick video tutorial that I find very helpful.
 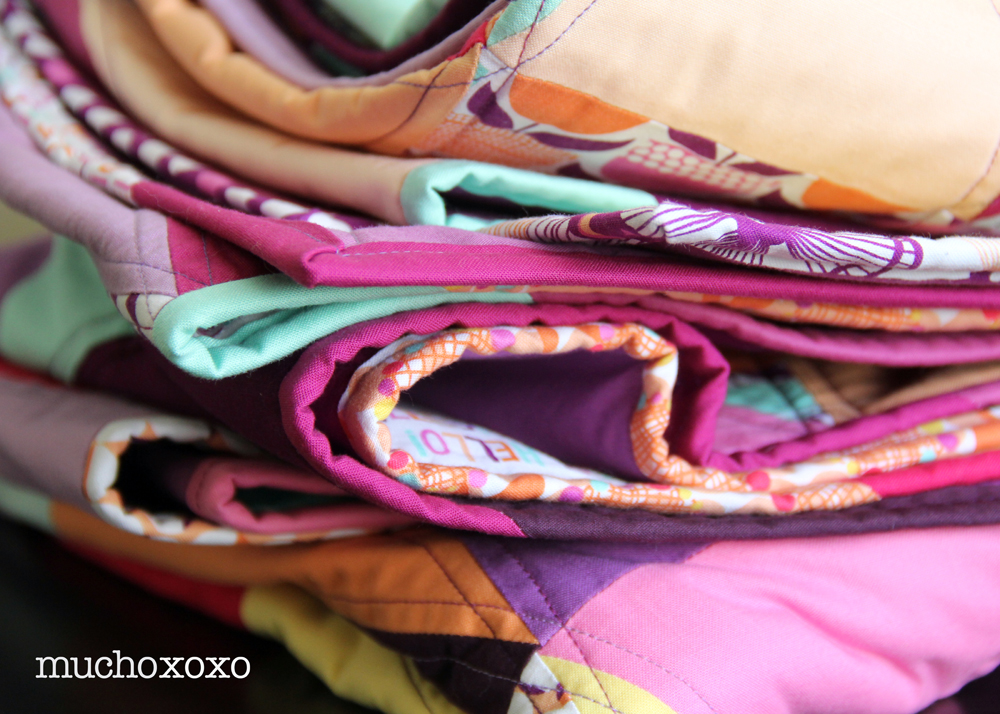 This project has been quite an experience. It tested my patience. It tested my skills. It even gave me nightmares. Seriously. But in the end I’m very happy with how it turned out.

Quilt details:
- Finished size- approx. 77 x 54 inches
- Quilt design by me
- Fabric- moxie print and an assortment of cotton solids (kona cotton, hawthorne hues and alissa haight carlton)
If you’re curious what other people have done for the challenge, you can visit the 2014 pantone quilt challenge: radiant orchid flickr group or take a look at the entries at either of the links below. There’s some really nice work!
Linking up with on the windy side and play crafts  Ok, time to curl up with my new blanket!
xoxo
