

Things definitely got off to a slow start with my orange peel quilt (too many projects going at once, maybe?) but I’ve made up for lost time and I’m back on track! Let’s start at the beginning, shall we?
The first task was pulling fabric. My only rule (as always) was that I had to pull from my stash. I knew I wanted to use color, and lots of it. So, I finally decided to go for scrappy/random peels in a range of colors on a neutral low-volume backing. Now, my stash has plenty of colors and bold prints, but neutral? I hardly have any! I did have a fun grey polka dot fabric that I’ve been wanting to use, so I decided to go with a uniform backing for the peels.
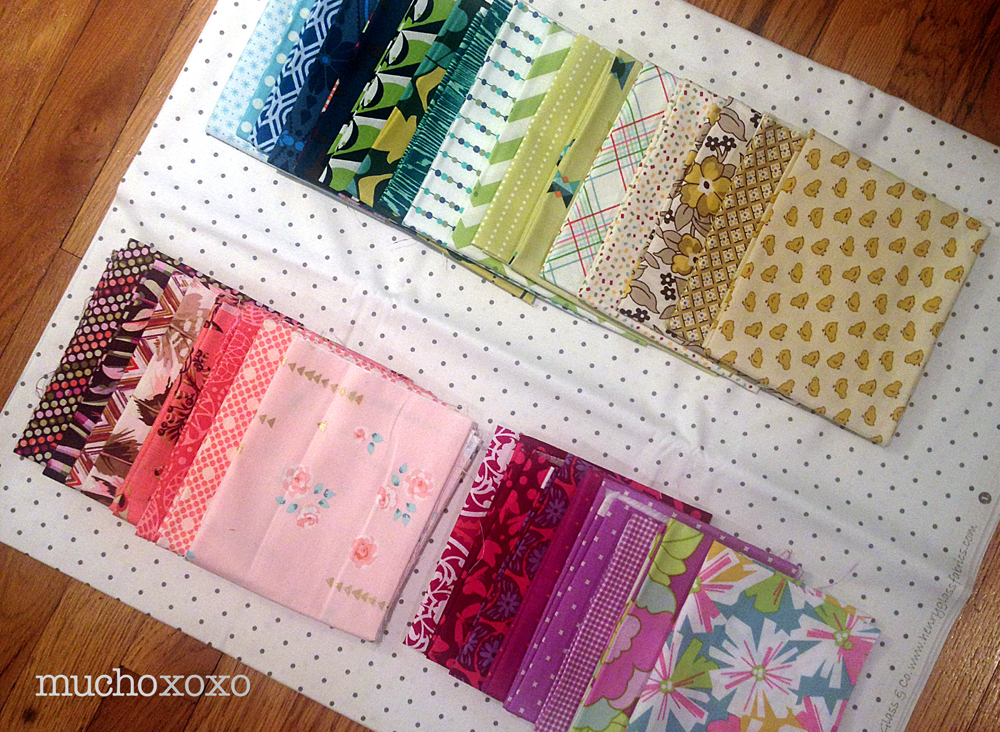
This is my first fabric pull, and I’ve since continued to add to it from my stash.
In the spirit of catching up (and planning ahead for being without my sewing machine for a few days), I cut 30+ freezer paper peels so I could just go go go! I went ahead and started ironing them to the fabrics I pulled. I decided to only do one peel per print, no repeats.

Then it was time to baste. I tried one… And, wow! It was a complete disaster! It was SO bad… This was my first time working with freezer paper, and I clearly didn’t iron it long enough. So before I was even half way through basting, the freezer paper started to release from the fabric and slide around. It makes it almost impossible to get a good grip on the fabric. No bueno.
(This is where the picture of my failed basting attempt would go, but it was so epically bad that I immediately threw it away. Yes, it was really that bad.)
Honestly, it was a little discouraging. But I was determined to keep going. Don’t let one bad peel ruin the whole bunch, right? I re-ironed all the peels to make sure the freezer paper had a nice strong hold. And I was ready to give it another go. It took a few peels to figure out a method that worked for me, but once I did they went pretty fast. Phew!

One thing I did in addition to Julie’s basting instructions that I found very helpful was to quickly finger-press the peels before sewing.

It creates a nice crisp fold and made the sewing go much quicker for me.

Next up, appliqué! More on that very soon, so stay tuned. In the meantime, hop on over to button-button and take a look at everyone’s progress. You can also take a peek on Instagram by searching #orangepeelqal2014.
Have a great week!
xoxo

I love your little peel rainbow! Thanks for the tips, I have yet to try using freezer paper. I look forward to seeing this come together, the dotty background is an awesome choice!
Looking forward to see how it progresses